
How to Add Tags to Payments
Tags allow you to organise your payment requests based on your own criteria, making it easier to find, track, and manage specific requests.
You can add multiple tags to any payment request and later use the search and filter functions to quickly locate them.
Adding Tags to Payment Requests
- Go to the Accounts Receivable module.
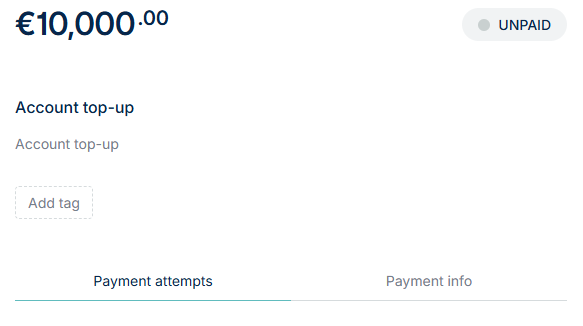
- Hover over the payment request and click to open its details.

- Click on the Add Tag button.
- Type your desired tag into the field.
- Select the green tick icon to save the tag. Once saved, the tag will appear alongside the payment in the Accounts Receivable table.


Repeat the process to add multiple tags if needed.
Adding Tags to Outgoing Payments
You can also add tags to outgoing payments:
- Go to the Accounts Payable module.
- Hover over the desired payment and click to open it.
- Click Add Tag, enter the tag name, and select the green tick icon to save it.
Reusing Existing Tags
- If a tag has been used before, it will appear as a suggested option when you start typing.
- To apply it, simply select the tag and confirm by clicking the green tick icon.
- The saved tag will then appear on the outgoing payment transaction as well.
Note, you will still need to select the green tick icon to save the tag.
