
How to Create a Rule
- Go to the Rules module.
- Click the New rule button:

You’ll be directed to the setup page where you can:
- Name the rule
- Optionally add a description to clarify its purpose
- Define:
Rule Preview and Finalisation
As you work through each step of the rule creation process, you’ll see a live preview of the rule being built on the right-hand side of the page. This gives you a clear summary of the conditions and actions being configured.
Once you are satisfied with the setup, click the Save for later authorisation button. It will then be submitted for authorisation based on your account’s approval settings.

Authorising a Rule
Immediately after clicking the Save for later authorisation button, a side panel will appear displaying the details of your new rule, indicating it is awaiting authorisation.
You can then choose to authorise, edit, or delete the rule:

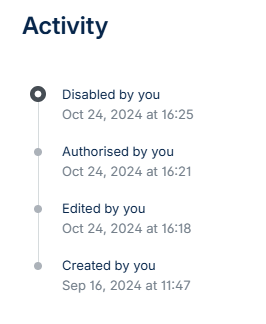
Note: Every rule includes a clear activity log that shows which user has performed which action. For example:
When a user clicks the authorise button, they will be taken to a summary page of the rule, where they will need to authorise it, e.g.:

The new rule will then appear on the main page as Enabled:
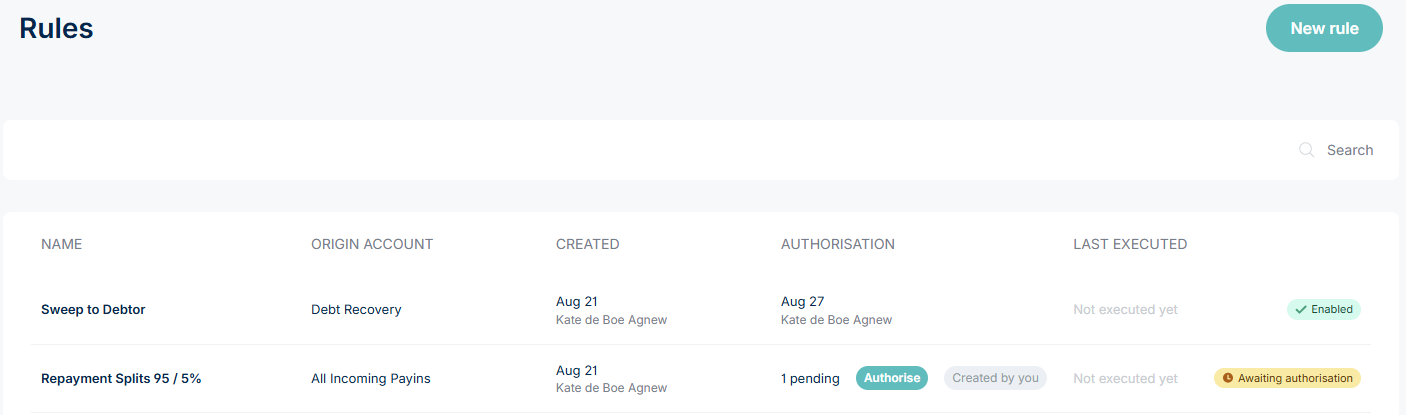
Anytime the status of a rule changes, all users with relevant permissions on the merchant account will receive an email notification.