How to Create a FX Payout
- Go to the Accounts Payable module.
- Click the Create Payout button located in the top-right corner of the screen.

A payout form will slide in from the right-hand side. Fill in the required details:
- Select the account you wish to send money from.

- Select the destination account. You can select a beneficiary, an internal account, or a new destination.

Note, if you’re sending to a new destination, you will need to choose the destination type based on the recipient’s bank details:
- IBAN: For accounts in Europe or any region that uses IBANs (ideal for SEPA and EUR payments).
- SCAN: For UK recipients using a sort code and account number (standard for GBP domestic payments).
- BIC/SWIFT: For international transfers to countries that do not use IBANs.

If BIC/SWIFT is selected, you must select the destination country and the charge bearer from the dropdown menus:

- Sender (OUR) → all fees are covered by the sender (however banks can still apply their own charges for receiving international payments)
- Shared (SHA) → fees are split between sender and recipient
If you are sending funds in EUR to a European country, but they do not accept payments via SEPA, select the 'Target 2' rail in the advanced configuration setting.
- Enter the amount you wish to send. If you are sending a cross-border payment, after entering the account information, you'll be prompted to send in the source account currency or in another supported currency, i.e., GBP or USD. For example:

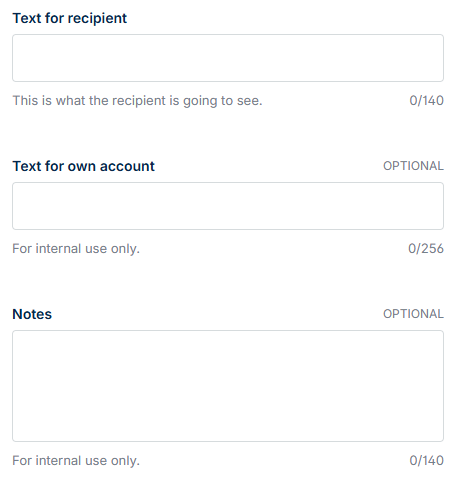
- Enter the Text for recipient, i.e., payment reference. This text will appear on the recipient’s statement.
- Enter the Text for own account, i.e., an internal reference. This will not be visible to the recipient.
- Add any notes for your team. This will not be visible to the recipient.
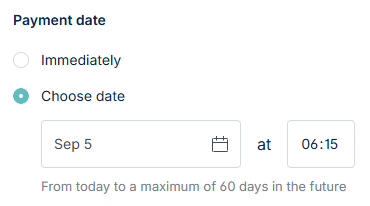
- Choose whether to send the payout immediately or schedule it for a future date.
Advanced Configuration
If you’re sending a payment in euro, you’ll see an option to select a payment rail at the bottom of the payout form. By default, the system automatically chooses the most suitable rail based on the payment destination and amount (e.g., SEPA Instant or SEPA Credit Transfer).
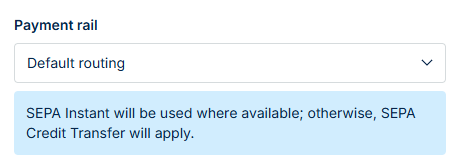
You can manually override this selection if you prefer to use a different rail that better suits your requirements. For example, if you need to send a high-value payment or ensure same-day settlement, you may choose to send the payment via Target2 instead.

Note: Selecting Target2 will incur an additional fee.
Authorisation Options
Your authorisation options depend on your user permissions:
- If you have authorisation permissions enabled: Click Create payout or Save for later authorisation. You’ll confirm the payment using multi-factor authentication (MFA).
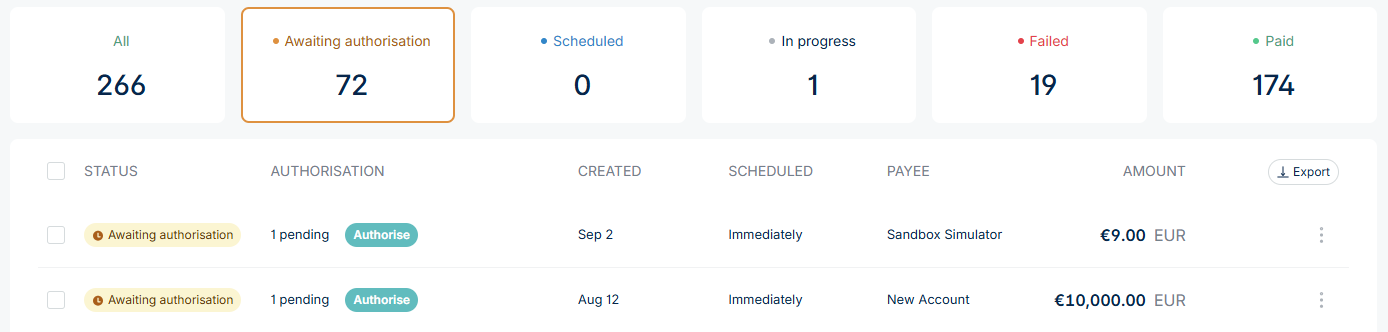
- If you do not have authorisation permissions enabled: Click Create payout. The payout will appear in the 'awaiting authorisation' tab and need to be authorised by a user with authorisation permissions enabled.
On the Authorisation page you will be able to review the FX rate. Once you're happy to proceed, click Authorise. Alternatively, you can click do it later and the payment will save under 'awaiting authorisation'.

Once submitted, the payout will appear in the AP table, listed under the Awaiting authorisation tab for further action or under the Paid tab if authorisation has been complete.