
Understanding the Six Stages of a Pay Run
You can track the progress of a pay run by referring to the timeline displayed at the top of the Pay run page.
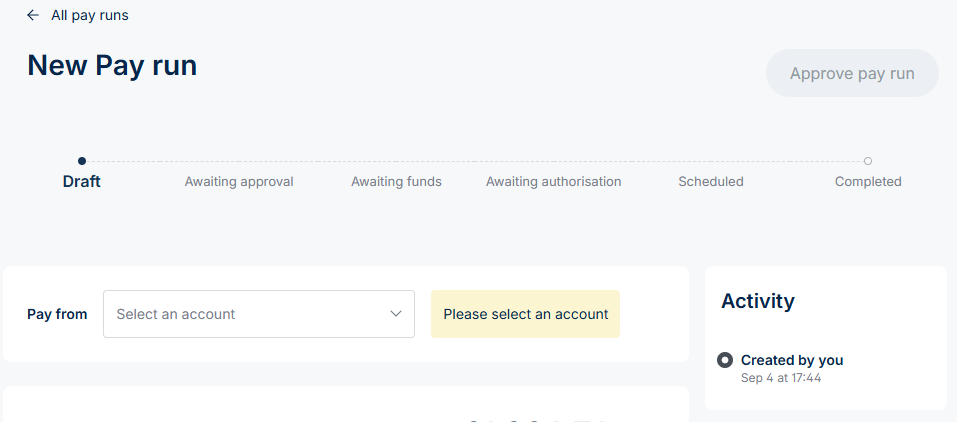
Stage 1: Draft
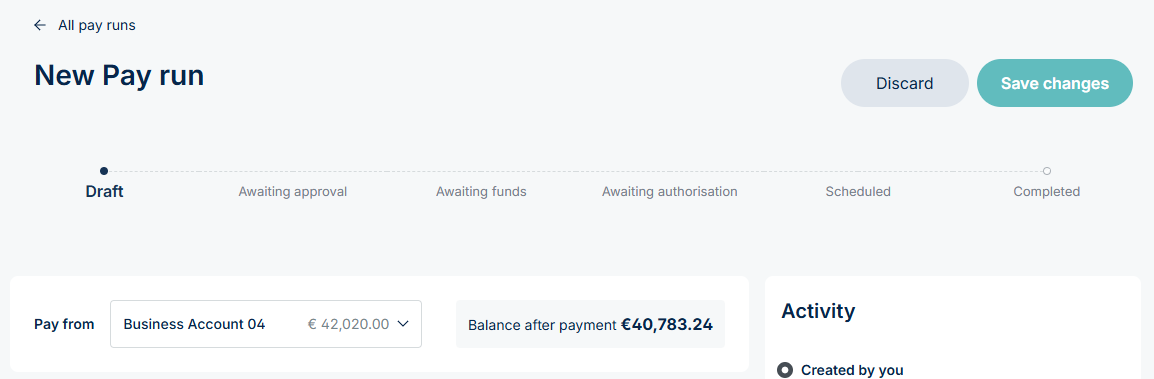
At this stage, the pay run is still in preparation and cannot progress until an account has been selected to fund the payments. If your pay run includes payments in multiple currencies, you'll need to select a source account for each currency.
After you select an account, click Save changes to move the pay run to the Awaiting Approval stage:
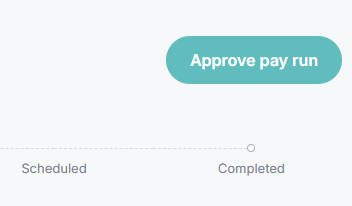
Stage 2: Awaiting approval
If you have the necessary authorisation permissions, you can approve the pay run directly by clicking the Approve Pay Run button in the top-right corner of the page.
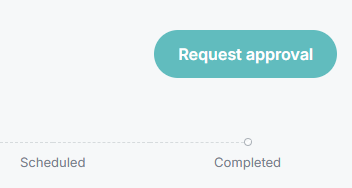
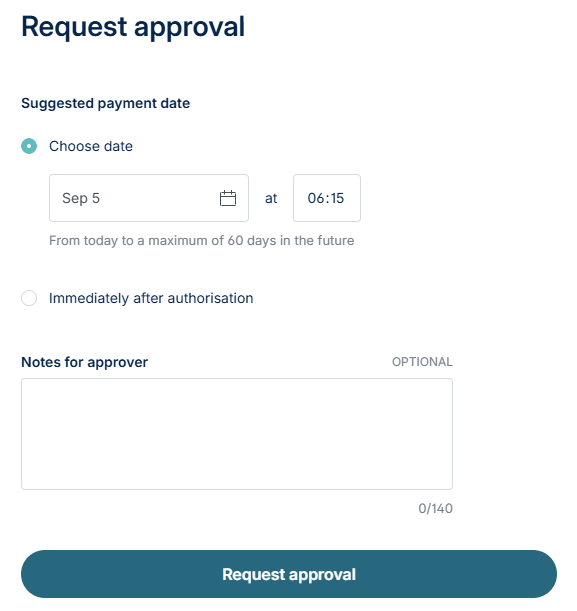
If you don’t have authorisation permissions, you’ll be prompted to request approval instead. Click the same button to submit your request.
When submitting an approval request, you can:
- Set the payment schedule → Choose a specific date and time for the payouts to be sent, or select Immediately after authorisation to release them as soon as they’re authorised.
- Add an optional note → Any note you include will be attached to the request and will also appear in the Activity log for reference.
A user with relevant permissions can then Reject or Approve the pay run. If they select to reject the pay run, they can add a comment explaining why. If they approve, they're prompted to confirm the payment schedule chosen by the set up user.
Stage 3: Awaiting funds
If there are sufficient funds in the account, this stage will automatically be skipped and you will move into the Awaiting Authorisation stage.
However, if there are insufficient funds in the account, you will need to “top up” the account before moving to the next stage.
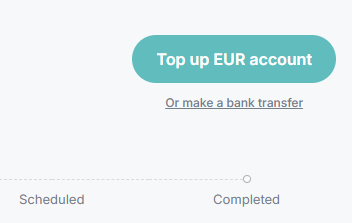
After selecting the top up button, you will be able to select how to top up your account. You can choose to top up the account from another NoFrixion account (internal account), or you can top up from an external account.
The external top up allows you to complete a payment via Pay by Bank, meaning if you have access to your customer’s traditional bank account, you’ll be brought to the relevant bank’s portal to complete the transfer.

When processing an internal transfer, a payout to reflect this will automatically appear in the payouts section. The internal transfer should only take seconds to complete.
Once the funds are deposited into the account, the status will automatically update to 'awaiting authorisation' on the platform. An admin must then navigate to the pay run to authorise the payment.
Stage 4: Awaiting authorisation
You are now in the final stage before the pay run is scheduled.
Depending on your set up and business logic, a user can now authorise the payments which will move funds from the account on the scheduled date.
After clicking the Authorise payments button, and completing multi-factor authentication, your pay run is now scheduled.
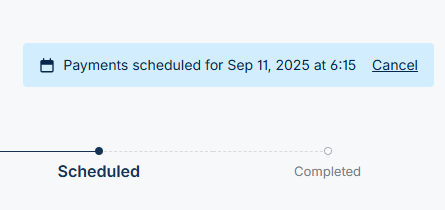
Stage 5: Scheduled
Your pay run has now been scheduled. If you wish to cancel the pay run or go back to the initial draft stage, click Cancel and Confirm.
Stage 6: Completed
When the pay run has been processed and all payments have been executed, the status will automatically update to Completed, indicating that the pay run is finished.